Since this is such a small device, the only thing that usually needs to be replaced is the battery.
This video will show you how to do it.
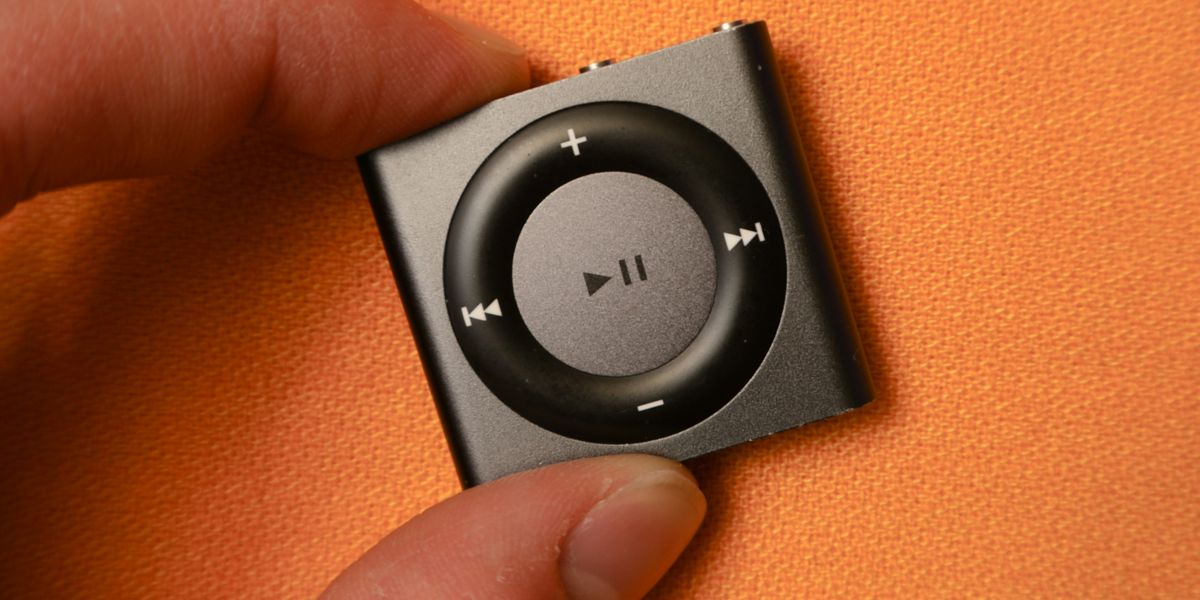
This tutorial gives the steps for replacing the battery in an iPod Shuffle 4th Generation.
It's easier to watch the video above, but if you prefer the text version, here it is…
Open the Housing
- To open the device, lift the back cover up where the clip is located.
- You may need to use a bit of heat and alcohol to loosen the adhesive. Note that if the old battery is expanded, it may already be pushing the back cover up. Be careful not to use excessive force, as this can bend the clip on the back and your iPod will look all weird.
Remove the Old Battery
- Pry up the old battery, as it is only held down by a bit of adhesive.
- Gently remove the ribbon cable. The ribbon cable attaches the front buttons to the logic board. Caution: The ribbon cable is often in there quite tightly. Be very gentle. Do not attempt to rip it out with tweezers, as this can damage the cable (rip a hole in it) and cause the buttons to stop functioning.
Remove the Logic Board
- Locate and undo the single screw holding the logic board in place. Ensure you do not lose this screw because losing the screw will allow the logic board to push into the iPod when the headphone jack is plugged in.
- Remove the small white piece of plastic located underneath the headphone jack. Do not lose this piece either, as it prevents the logic board from being pushed in when headphones are inserted.
- Use tweezers, insert them into the headphone jack, and push the logic board back slightly.
- The logic board should then slide out.
- Once the logic board is out, it is a good time to inspect it for any water damage.
Desolder the Old Battery
- Remove the rubber adhesive or rubber coating that covers the solder joints using tweezers. This coating comes off relatively easily.
- Apply some flux.
- Heat the joints using a soldering iron.
- While soldering, slightly pull the cable so that it falls out. Caution: Do not pull too hard, as this risks damaging the PCB.
Prepare the Pads and Solder on the New Battery
- Use lead-free solder.
- Flood the two pads with a generous amount of new lead-free solder. This is important because the old solder may be oxidized, and new lead-free solder flows more easily.
- Note: If you do not have flux or lead-free solder, it is advisable to buy them, as they help the solder flow better and prevent an “ugly” result.
- To hold the logic board steady, use a “Helping Hands” tool while installing the new battery.
- Position the new battery wires correctly: the positive (red) lead goes on the outer side, and the black lead goes on the inner side. Do not mix these two wires up.
- After soldering the wires, snip them down on the back side and clean them up. Snipping down the wires prevents them from coming into contact with the housing and causing a short circuit.
- Use isopropyl alcohol and a Q-tip to clean away any excess flux remaining on the board.
Reassemble
- Grab the logic board and housing, ensuring the wires are in the correct position.
- When putting the logic board back in, ensure the lock switch at the top lines up properly. If it doesn't line up, you will have to open the device again.
- Reinstall the screw.
- Replace the little white piece of plastic.
- Tuck the battery back in. This is described as one of the most important steps.
- Use tweezers to tuck the battery wires out of the way and up into the corners, mimicking how they were when you opened the device. If the wires are not tucked properly, the battery will sit higher, preventing the device from closing correctly and making it obvious that the device has been opened.
- Do not forget to plug the button ribbon cable back in.
Test and Prepare to Seal
- Plug in the device to test it, ensuring the battery charges up and everything works properly.
- Clean the old adhesive residue off the lip around the housing and the back cover. You can scrape it off with tweezers and finish it off with isopropyl alcohol. This prevents issues with proper sealing.
- (Optional Safety Step): There is a black piece of rubber inside to prevent the back of the housing from touching the circuit board. You can leave it in, or if you discarded it, you can put a piece of Kapton tape in its place, though the gap is usually large enough that they won't touch.
Close It Up
- Apply a rubbery, phone-specific super glue, such as B7000, all the way around the outside of the lip. Using this type of glue allows the device to be opened again in the future, which is often impossible with hard-drying superglues.
- Put the back cover on. You must put it on in a specific way because one side has clips and the other has a small locking mechanism.
- Hold the device together for about a minute or two while the super glue starts to dry. Aftermarket batteries are sometimes thicker than the originals, which may cause the back to pop up a little, so be sure to hold the back on for as long as it takes to stick.
- (Optional Step): To ensure it sets properly, you could put a rubber band around the device and let it set for a day, or simply avoid using the clip for the first day.
Final Thoughts
The iPod Shuffle is a decent music player.
But repairing it does require some soldering, which most people do not know how to do.
On top of that, you're limited to the storage space that's on the logic board.
If you're looking for iPods that can be upgraded to expandable storage and don't require soldering to repair, then be sure to read my guide on the best iPods of all time.
An excellent iPod Shuffle alternative is the iPod Mini.
However, if the Shuffle is good enough for you, then now you know how to replace the battery so you can keep using it for a long time.
Thanks to Parts Plus Pods for a great tutorial video!
Once your iPod is working, go out and download some music or buy some CDs.