If you're on a budget, but still want to maximize the growth and output of your plants, then this kit is for you.
It's super cheap and works well.
Be sure to read my El Cheapo grow tent tutorial here if you want instructions on how to set one up.
Of course, you won't get all of the perks of an expensive grow tent. But you will get most of the benefits, and that's more than good enough to dramatically improve the growth of your plants.
I'll also throw in a few useful bonus tools that you can use if you want to upgrade your setup.
Supplies
Here are the supplies you'll need to build a super simple grow tent at home.
You might be surprised at how easy this is.
Mylar Blanket
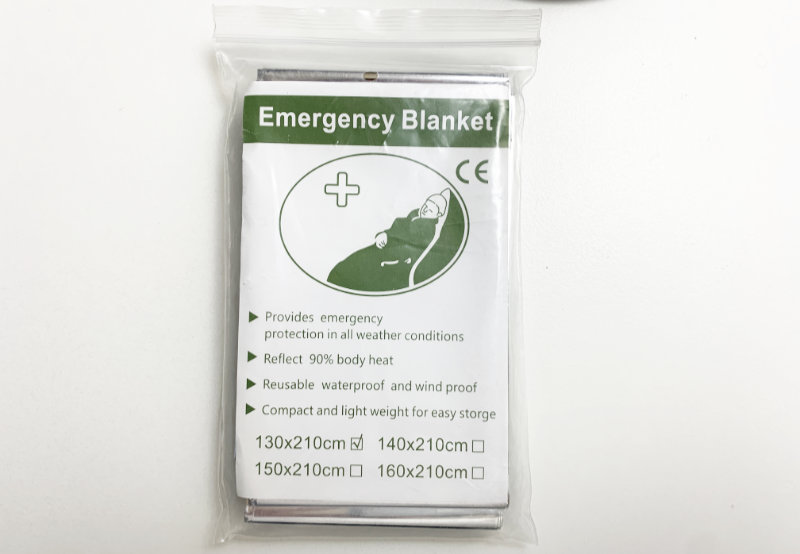
This is the blanket that I used for my El Cheapo grow build, but any mylar blanket will do.
They are all pretty much the same, just make sure to buy one that's big enough for the area you want to cover.
The great news is that these are cheap, so buy several.
Full Spectrum Grow Light
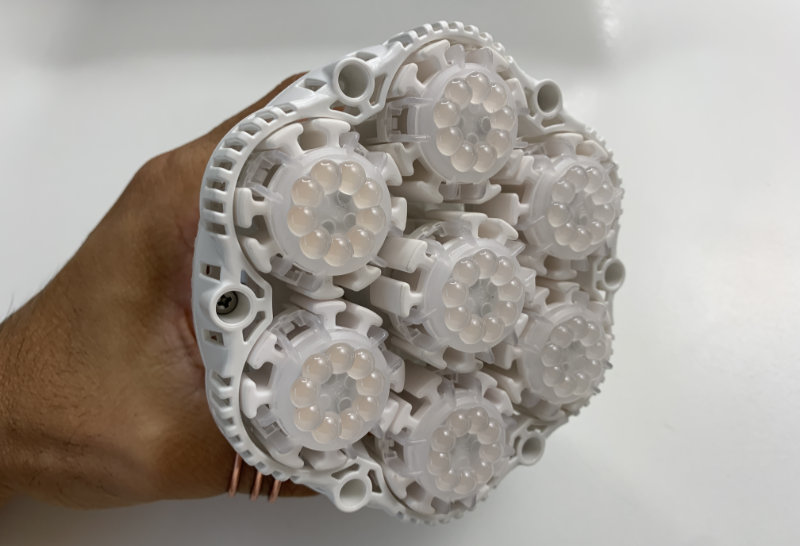
Next, you'll need a grow light.
There are a lot of options out there, but if you want to spend as little money as possible, then the grow lights from Sansi are a great way to go.
They are full spectrum LED lights that help plants grow at every stage of the plant life cycle.
My favorite one is the 36W model, but buy the one that fits your budget and needs.
Light Socket with Cord

If you don't have a light bulb socket to plug your grow light into, then you'll need purchase one.
I like the sockets from Limo Studios.
They are for photography, so you can mount them on a tripod, or you can simply hang them from a wire rack.
There are a ton of options with this socket setup.
The only real downside is that the cable is not reinforced. So if you have a heavy grow bulb, then you'll have to support it with string or a chain.
So that's all you need to create a very simple and inexpensive grow tent. If you want to go a step further, then here are some upgrades that you can add to your tent.
Optional Grow Tent Upgrades
Once you get your grow tent setup, you might find that you want to add some upgrades.
So here are a few optional things that you can add to improve the performance of your tent.
Wire Rack

In my opinion, these racks are the best way to setup your first grow tent.
They are inexpensive and can be configured in different ways.
Since the shelves aren't solid, light can go through multiple levels of shelves, helping you grow more plants.
But a really good rack can be pricey. So you might want to consider just buying a dedicated grow tent instead of a high quality wire rack, if you have the money for the wire rack.
The added benefit of a wire rack is you can use part of it to store other things.
Fan
If you're growing plants in a stuffy area, a fan will help you move air around and keep your plants healthy.
It's also important to use a fan that isn't noisy, because that can be really annoying.
Here's a fan that has good ratings, but I'm sure that you can find others. I haven't needed a fan, but if I did, I would get this one.
Packing Tape
If you want to secure the edges of your tent or reinforce areas so you can secure them with zip ties, then some simple packing tape is perfect.
Put it on a simple dispenser and you're good to go.
In this case, the quality of the tape doesn't really matter, but Jarlink has worked well for me.
Zip Ties
Zip ties are handy for all sorts of DIY projects, so it's useful to have some at all times.
The brand you buy doesn't matter too much for this application.
Just buy something cheap. You can always string multiple ties together, if you need something longer.
Here's what I recommend if you're just starting out.
Black Out Curtains
Mylar emergency blankets do let some light through, but they are good enough for maximizing the light your plants get.
However, if you want to increase the light retention of your tent, or increase the temperature or humidity, then you can use some simple pieces of cloth around your tent.
You can use any type of cloth you want, but a good option is black out curtains.
They are thick, relatively inexpensive, generally durable and look good from the outside. These curtains will also keep the light from your grow lights contained so they don't bother people in the room.
Humidifier
If you need more humidity in your grow tent, then you can use an inexpensive humidifier.
There are many out there, but if you're just getting started, this one is reliable.
Temperature and/or Humidity Gauge
If your plants are sensitive to temperature and humidity, then it's essential to get a gauge.
This one comes highly recommended and has the added benefit of recording the high and low readings, so you can discover if there are temperature/humidity changes that you weren't aware of.
I personally haven't needed one, but if I did, this is what I would buy.
Light Timer
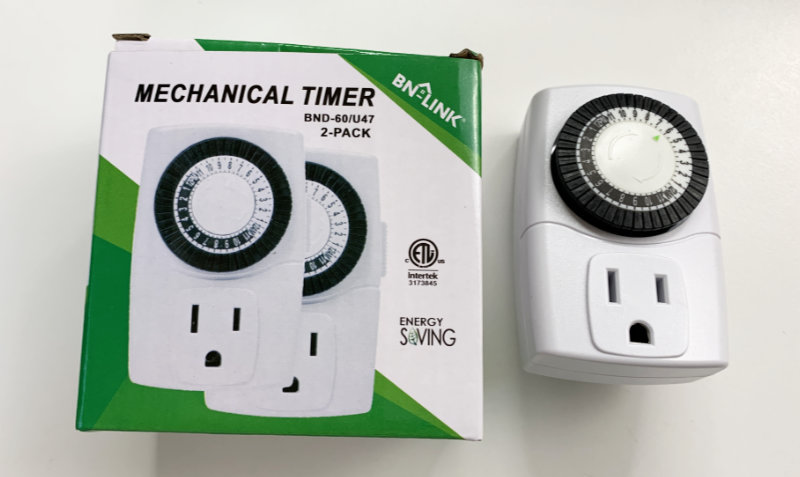
A timer is great way to ensure that your plants get the right amount of light every day.
Surprisingly, low-cost digital timers are notoriously unreliable, at least as this is being written. So if you're on a budget, then it's best to go with a mechanical timer.
I really like the BN-Link mechanical timers. They are very easy to use, no complex programming necessary.
But most of all, they are super reliable.